
Introduction to Raspberry Pi for Garden Automation
Why Choose Raspberry Pi for Irrigation Systems?
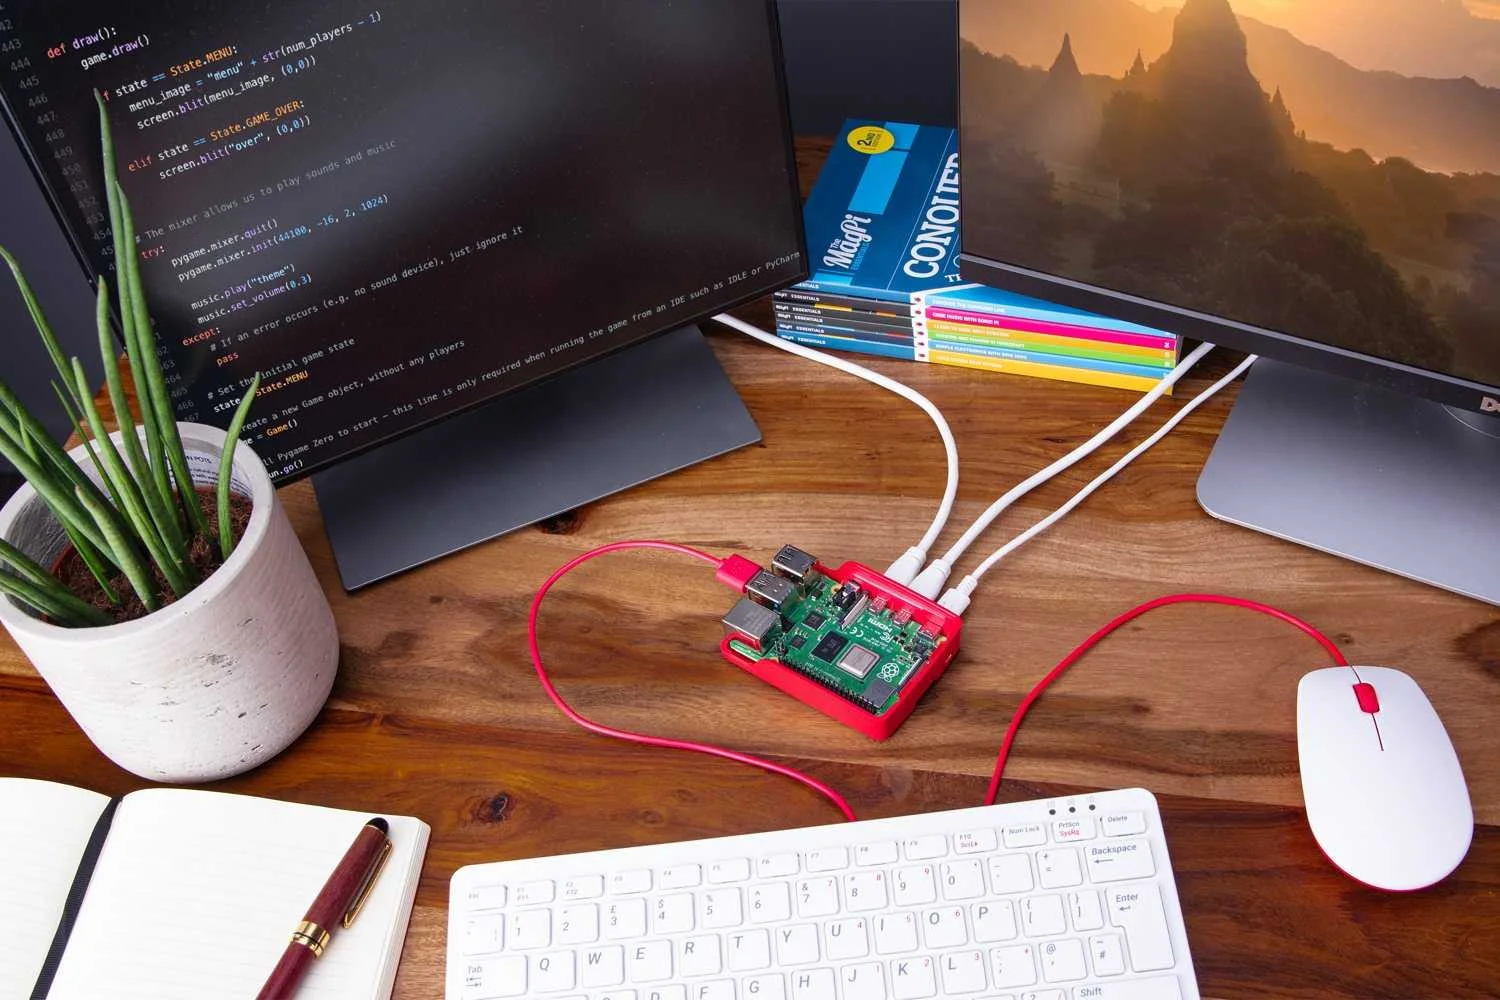
The Raspberry Pi provides an affordable and flexible platform for automating garden irrigation. Its compact size allows it to fit in small spaces, while its GPIO pins enable easy control of water pumps and sensors. Built-in Wi-Fi options on models like the Raspberry Pi Zero W make remote monitoring and control possible without additional hardware. This versatility makes it an ideal choice for those who want to automate watering with precision, reducing water waste and ensuring plants receive timely hydration.
Understanding Budget Constraints in Garden Automation
Traditional irrigation automation solutions can be costly and complicated. Many commercial systems integrate expensive proprietary components that strain small budgets. Using a Raspberry Pi allows gardeners to build a customized system tailored to their needs at a fraction of the cost. By selecting affordable hardware like PVC pipes and a basic relay module, it’s possible to create a reliable, visually appealing, and permanent setup without sacrificing safety or functionality.
Essential Components Needed
Hardware: Raspberry Pi Models and Sensors
Choosing the right hardware is crucial for a successful automation project. The Raspberry Pi Zero W is often sufficient, offering low power consumption and built-in wireless connectivity. Soil moisture sensors help monitor plant hydration levels, while a submersible AC water pump controlled via a relay board distributes water effectively. Ensuring all components are compatible and protected from environmental factors contributes significantly to the system’s durability.
Software: Open-Source Tools and Platforms
Open-source software makes programming and managing the irrigation system accessible. Python, widely supported on Raspberry Pi, offers extensive libraries for handling GPIO, sensor input, and network communication. Tools like Raspbian OS provide a stable environment, and additional platforms can be integrated to visualize data or schedule irrigation events. Using free software reduces costs and fosters a customizable approach to garden management.
Step-by-Step Guide to Setting Up Your Automated Irrigation
Preparing Your Raspberry Pi
Start by installing the latest Raspbian OS on your Raspberry Pi. Configure Wi-Fi connectivity and update packages to ensure security and stability. Familiarize yourself with the GPIO pin layout using commands like ‘pinout’ or resources such as pinout.xyz. This preparation is essential before integrating hardware and writing control scripts.
Connecting Soil Moisture Sensors and Water Pumps
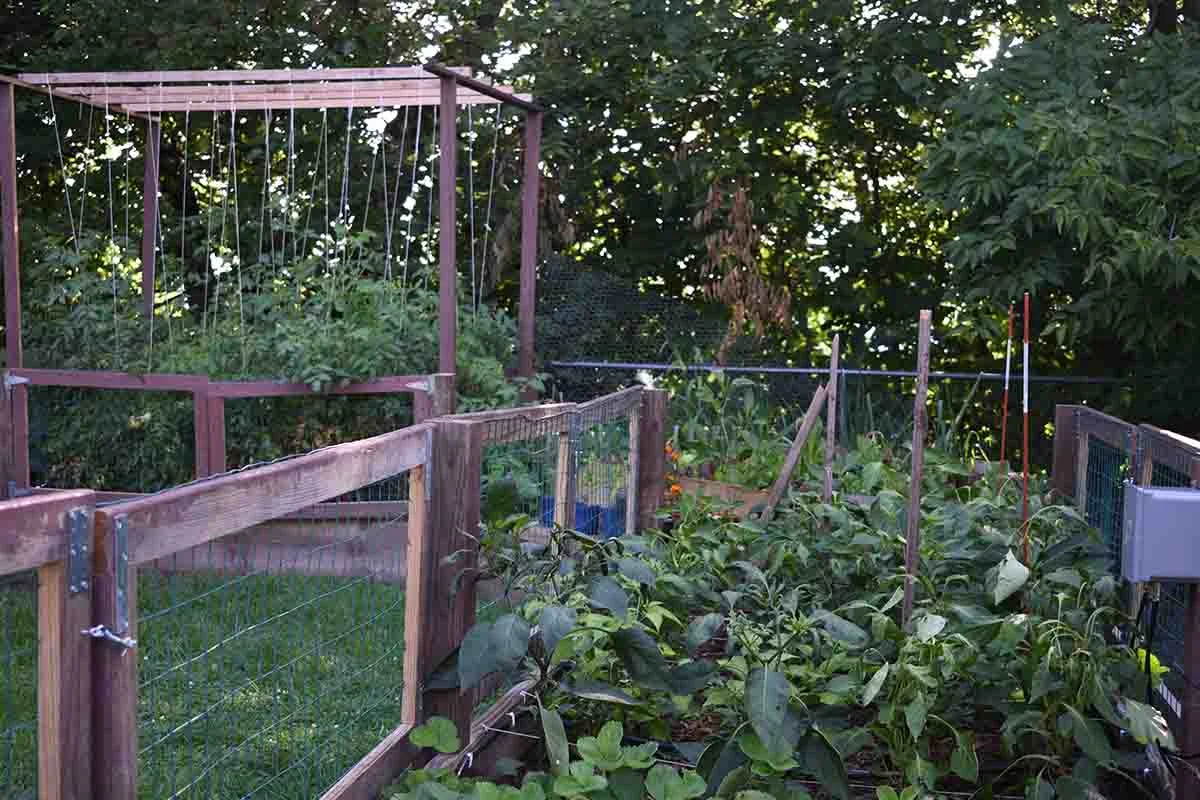
Connect soil moisture sensors to the Raspberry Pi GPIO pins, ensuring correct voltage levels to prevent damage. Use jumper cables and a breadboard for initial testing. The water pump should be connected to a relay module, preferably an isolated 4-channel relay, to safely manage the 120V or 240V AC power supply. Housing all electrical components within a plastic box protects from moisture and accidental contact. Secure PVC pipes around balcony rails with zip ties to create a neat and durable watering network.
Programming Automations Using Python
Develop Python scripts to read moisture sensor data and trigger the water pump accordingly. Schedule watering cycles at 24-hour intervals or adapt based on sensor thresholds. Employ libraries like RPi.GPIO for hardware interaction. Implement safety checks to avoid running the pump dry or causing water overflow. Testing the automation extensively ensures reliability before full deployment.
Optimizing Water Usage and Scheduling
Creating Smart Watering Timetables
Customizing watering schedules minimizes water waste and promotes plant health. Set timetables to avoid watering during peak sun hours or heavy rain periods. Use soil moisture readings as a direct input to adjust watering frequency dynamically. This approach balances water usage with plant needs, enhancing efficiency and reducing utility costs.
Integrating Weather Forecast Data
Incorporating weather forecasts helps preempt unnecessary irrigation. By integrating APIs that provide local weather conditions, the system can delay watering if rainfall is expected. This feature requires internet connectivity and programming to parse forecast data. The result is a smarter system that conserves water and adapts to changing environmental conditions.
Troubleshooting and Maintenance Tips
Common Issues and How to Fix Them
Common problems include sensor misreadings, pump failure, and relay malfunctions. Verifying sensor connections and cleaning electrodes improve reliability. If the pump fails to activate, checking relay wiring and power supply is fundamental. Avoid using makeshift setups like plastic bottles hung from ceilings, as these can create accessibility and aesthetic issues.
Regular System Checks for Longevity
Perform frequent inspections of electrical connections and mechanical components. Replace worn pipes and ensure zip ties remain secure. Confirm that the plastic enclosure protects from moisture intrusion. Regular software updates and backups help maintain the control system’s integrity over time. Consulting qualified electricians when handling AC components enhances safety and longevity.
Advanced Enhancements for Your Garden Irrigation
Adding Remote Access and Notifications
Enable remote system control via secure web interfaces or mobile apps for convenience. Notifications triggered by abnormal sensor readings or pump failures keep you informed in real time. This functionality introduces a layer of automation that accommodates travel plans and plant care consistency.
Expanding to Multi-Zone Irrigation Control
For larger gardens, dividing irrigation into zones allows tailored watering schedules per area. Multiple relay channels can control separate pumps or valves, managed by the Raspberry Pi. This scalability caters to diverse plant types and sun exposure, optimizing water distribution across the garden effectively.


