
Introduction to Custom API Automation with Zapier
In today’s fast-paced digital landscape, automating repetitive tasks is no longer a luxury but a necessity. Zapier offers a powerful no-code platform that allows users to connect apps and automate workflows seamlessly. When paired with custom API integration, Zapier becomes an invaluable tool for businesses seeking tailored automation that fits unique operational needs. Whether it’s syncing data across platforms, updating customer records, or streamlining communication, building custom API automation workflows in Zapier opens up a world of possibilities without needing extensive coding knowledge.
Understanding the Basics of API Integration
What is an API?
An API, or Application Programming Interface, is essentially a set of rules that allows different software applications to communicate with each other. Think of it as a bridge that lets one program request data or functions from another securely and efficiently. APIs power much of the automation we rely on, enabling apps to exchange information and trigger actions behind the scenes.
How Zapier Facilitates API Automation
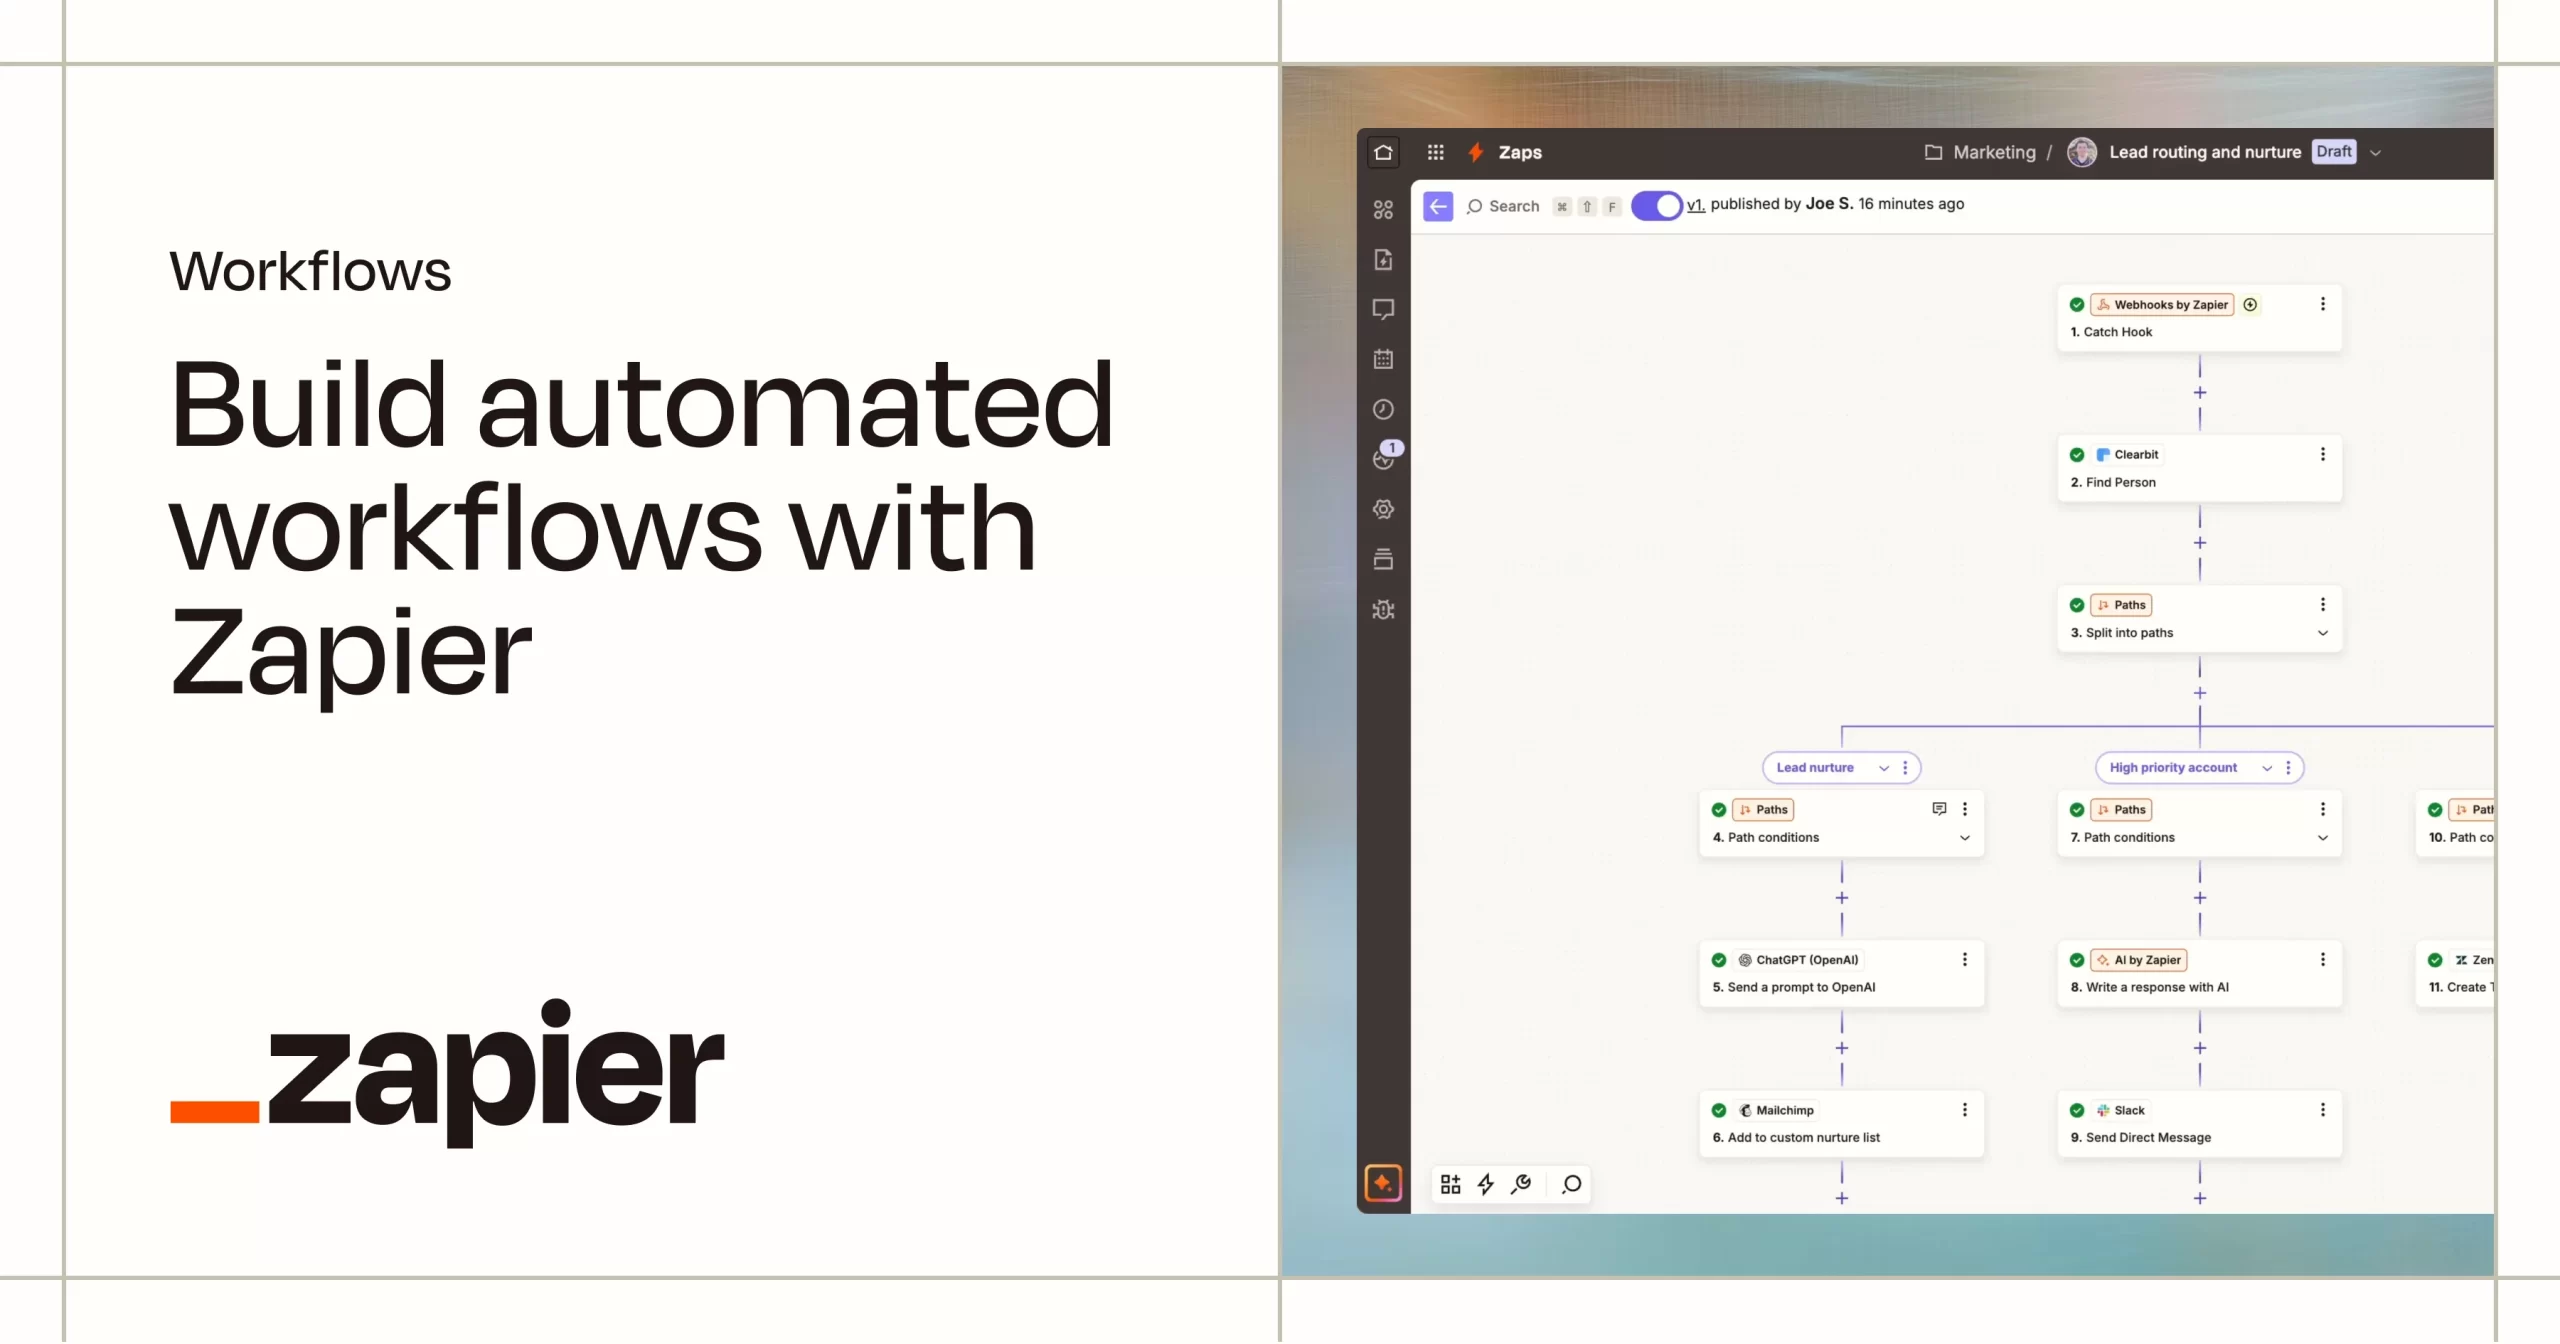
Zapier acts as the middleman that connects various applications through their APIs. Its user-friendly interface lets you set up “Zaps” — automated workflows that start with a trigger in one app and follow with actions in others. When APIs support custom requests, Zapier’s “Webhooks” feature further extends your ability to build tailored automations by letting you send and receive data dynamically. This approach removes the need to write code directly while still tapping into the full power of APIs.
Preparation Before Building Your Workflow
Identifying Your Automation Goals
Before diving into building your Zap, it’s essential to clarify what you want to achieve. Are you aiming to save time on manual data entry, improve customer response times, or sync product inventories across platforms? Defining your goals helps you structure your workflow logically, ensuring that the automation truly supports your business processes rather than complicating them.
Gathering API Credentials and Documentation
Next, you’ll want to collect all necessary credentials, such as API keys, tokens, or client IDs, from the apps you plan to connect. Additionally, reviewing the API documentation is invaluable. This will guide you in understanding available endpoints, authentication methods, rate limits, and how to format requests appropriately. Having this information ready before building your workflow will make the process smoother and reduce errors.
Step 1: Setting Up Your Zapier Account and Environment
Signing Up and Navigating the Dashboard
Starting with Zapier is straightforward. Signing up only takes a few minutes, and once logged in, the intuitive dashboard helps you access all key features. From here, you can manage your existing Zaps, explore templates, and connect new apps. Familiarizing yourself with this environment early sets a solid foundation for your automation journey.
Connecting Necessary Apps to Zapier
Before creating a Zap, ensure all the apps involved in your workflow are connected to your Zapier account. This typically involves authenticating each app with the correct credentials. Authentication creates a secure link that allows Zapier to access and manipulate data on your behalf. Missing this step can lead to failed Zaps or permission errors later on.
Step 2: Creating a New Zap from Scratch
Selecting Triggers and Actions
The core of any Zap is its trigger and action steps. A trigger is an event that kicks off your workflow — for example, receiving a new lead or a completed purchase. Actions are subsequent tasks performed in response, such as updating a CRM or sending an email. Choosing the right trigger and action combos shapes the logic and effectiveness of your automation.
Using “Webhooks by Zapier” for Custom API Requests
Sometimes, the pre-built app integrations in Zapier don’t cover all your needs. That’s where the “Webhooks by Zapier” app shines. It lets you craft custom API requests using GET, POST, PUT, or DELETE methods. This approach empowers you to communicate with apps that might not have a dedicated Zapier integration or require complex data manipulation.
Step 3: Building and Testing API Requests
Configuring GET, POST, PUT, and DELETE Methods
Understanding and correctly configuring HTTP methods is vital. GET requests retrieve data, POST submits new information, PUT updates existing records, and DELETE removes data. Choosing the right method and structuring its payload appropriately ensures that your API requests achieve the intended effects without errors.
Managing Headers, Parameters, and Authentication
APIs commonly require specific headers for authentication (like API keys or tokens) and other parameters that dictate how requests behave. Zapier’s Webhooks allows you to set these headers and parameters precisely. Paying attention to these details is crucial, as incorrect or missing information often causes failures in your Zap’s execution.
Step 4: Adding Filters and Formatter Steps for Workflow Optimization
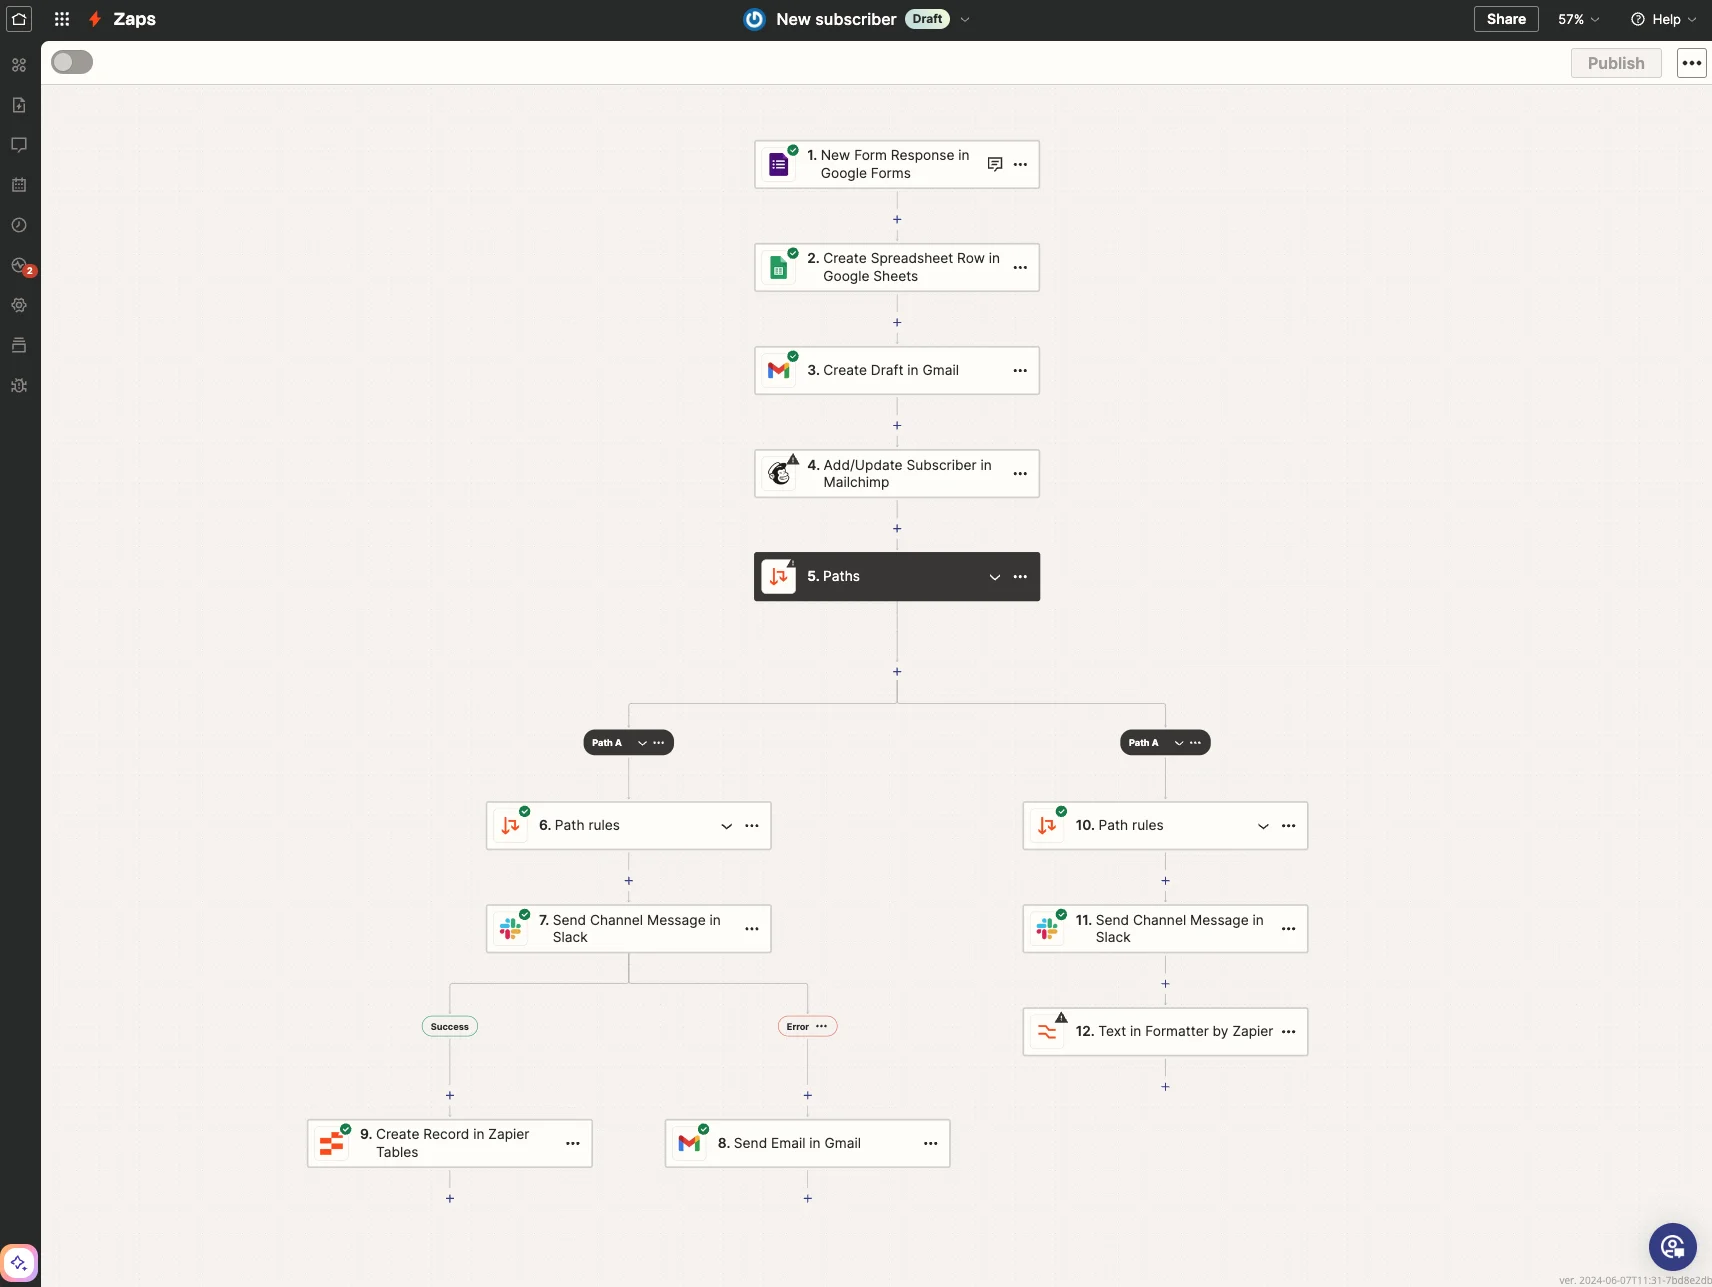
Conditional Logic Using Filters
Not every trigger should lead to every action. Filters let you add conditional logic, ensuring actions only run when certain criteria are met. For example, you might want to update your CRM only if a lead’s score exceeds a threshold. Incorporating filters keeps your workflows clean and relevant, preventing unnecessary or incorrect automation.
Formatting Data for API Response Compatibility
Often, API responses or inputs require data in specific formats. Zapier’s Formatter tool helps transform data accordingly—whether that’s adjusting date formats, trimming text, or parsing JSON. Proper data formatting guarantees smooth communication between apps and prevents errors caused by incompatible inputs.
Step 5: Debugging and Troubleshooting Your API Workflow
Common Errors and How to Fix Them
Even experienced users encounter hiccups. Common issues include Zaps not triggering due to outdated settings, actions failing from incorrect field mapping, or task log errors stemming from permission problems. Reviewing each component step-by-step, checking app connections, and ensuring triggers have fresh data are practical ways to resolve these frustrations.
Utilizing Zapier’s Testing Tools
Before going live, make extensive use of Zapier’s built-in testing features. Testing ensures each step behaves as expected and surfaces potential errors upfront. This helps avoid downtime or data errors in production. Remember, skipping testing can lead to missed opportunities or even workflow failures.
Real-World Examples of Custom API Automation with Zapier
Automating CRM Updates
Imagine automatically syncing new customer information from a website form directly into your CRM without manual entry. Custom API workflows with Zapier handle this effortlessly, ensuring your sales team has up-to-date records and can respond promptly to leads.
Syncing E-commerce Data Across Platforms
Online stores often operate across multiple platforms, from payment processors to inventory management systems. With custom API automation, product stock levels, order details, and customer data stay synchronized in real-time, reducing errors and improving operational efficiency.
Advanced Tips for Scaling and Maintaining Your Workflows
Version Control and Workflow Documentation
As Zaps grow more complex, maintaining clear documentation is key. Documenting the purpose, trigger conditions, and actions helps teams understand and update workflows later. Utilizing version control methods, like naming conventions for iterations, prevents confusion and keeps your automations organized.
Monitoring and Alerts for Workflow Failures
Automation only works when it runs reliably. Setting up monitoring and alert systems through Zapier or external tools helps you catch workflow failures quickly. Prompt notifications allow you to diagnose issues, fix them before they impact your business, and maintain a smooth automation environment.


