
Introduction to Mechanical Keyboard Care
Why Proper Maintenance Matters
Imagine you’re in the middle of a high-stakes gaming session or an intense work deadline, and your mechanical keyboard suddenly starts missing keystrokes or producing odd noises. This scenario is common when keyboards aren’t properly maintained. Mechanical keyboards are prized for their durability and superior typing experience, but they rely on precise mechanical switches that need regular care. Proper maintenance not only preserves performance and tactile feel but also extends the lifespan of your investment.
In one real-life example, a graphic designer found her keyboard becoming increasingly unreliable after a year of heavy use without cleaning. After a thorough cleaning session, she noticed the keys felt fresher and typing was smoother, demonstrating how essential maintenance impacts everyday productivity.
Common Risks of Neglecting Cleaning

Neglecting cleaning can lead to dust, debris, skin oils, and crumbs infiltrating switches and the PCB (printed circuit board), which can cause unresponsive or sticky keys. One gamer experienced “chattering” keys—multiple inputs registered for a single press—due to accumulated grime. Worse, spills can cause permanent damage. Without quick action, liquids seep into circuits, rendering the keyboard unusable. Simply ignoring these issues can degrade sound quality, the keyboard’s feel, and eventually lead to costly repairs or replacement.
Essential Tools You Need
Cleaning Kits and Materials
Starting with the right tools makes safe cleaning manageable and effective. A keycap puller is indispensable for removing caps without scratches. Compressed air helps blow out debris from hard-to-reach switch housings and the keyboard plate. Isopropyl alcohol, especially 70% or higher, is excellent for sanitizing surfaces without risking damage. In addition to cleaning fluids, microfiber cloths are gentle yet effective for wiping down surfaces without leaving fibers or scratches.
Choosing the Right Brushes and Cloths
One mistake many make is using abrasive tools that damage keycaps. Soft-bristled brushes, such as paint or makeup brushes, allow careful dusting around switches and stabilizers. These brushes can gently remove dust without dislodging components. Avoid metal or stiff brushes, which risk scratching the plastic or sensitive electronics. A microfiber cloth dampened lightly with isopropyl alcohol is perfect for cleaning the keyboard’s plate or frame without harming delicate surfaces.
Step-by-Step Guide to Cleaning
Pre-Cleaning Preparation
Before you begin, unplug the keyboard to avoid any electrical hazards. It’s smart to take a photograph of your current keycap layout, especially if you have a custom or unfamiliar setup; this saves time when reassembling. Find a clean, flat workspace with good lighting. Having everything ready ensures a smooth cleaning process without rushing or risking parts getting lost.
Removing Keycaps Safely
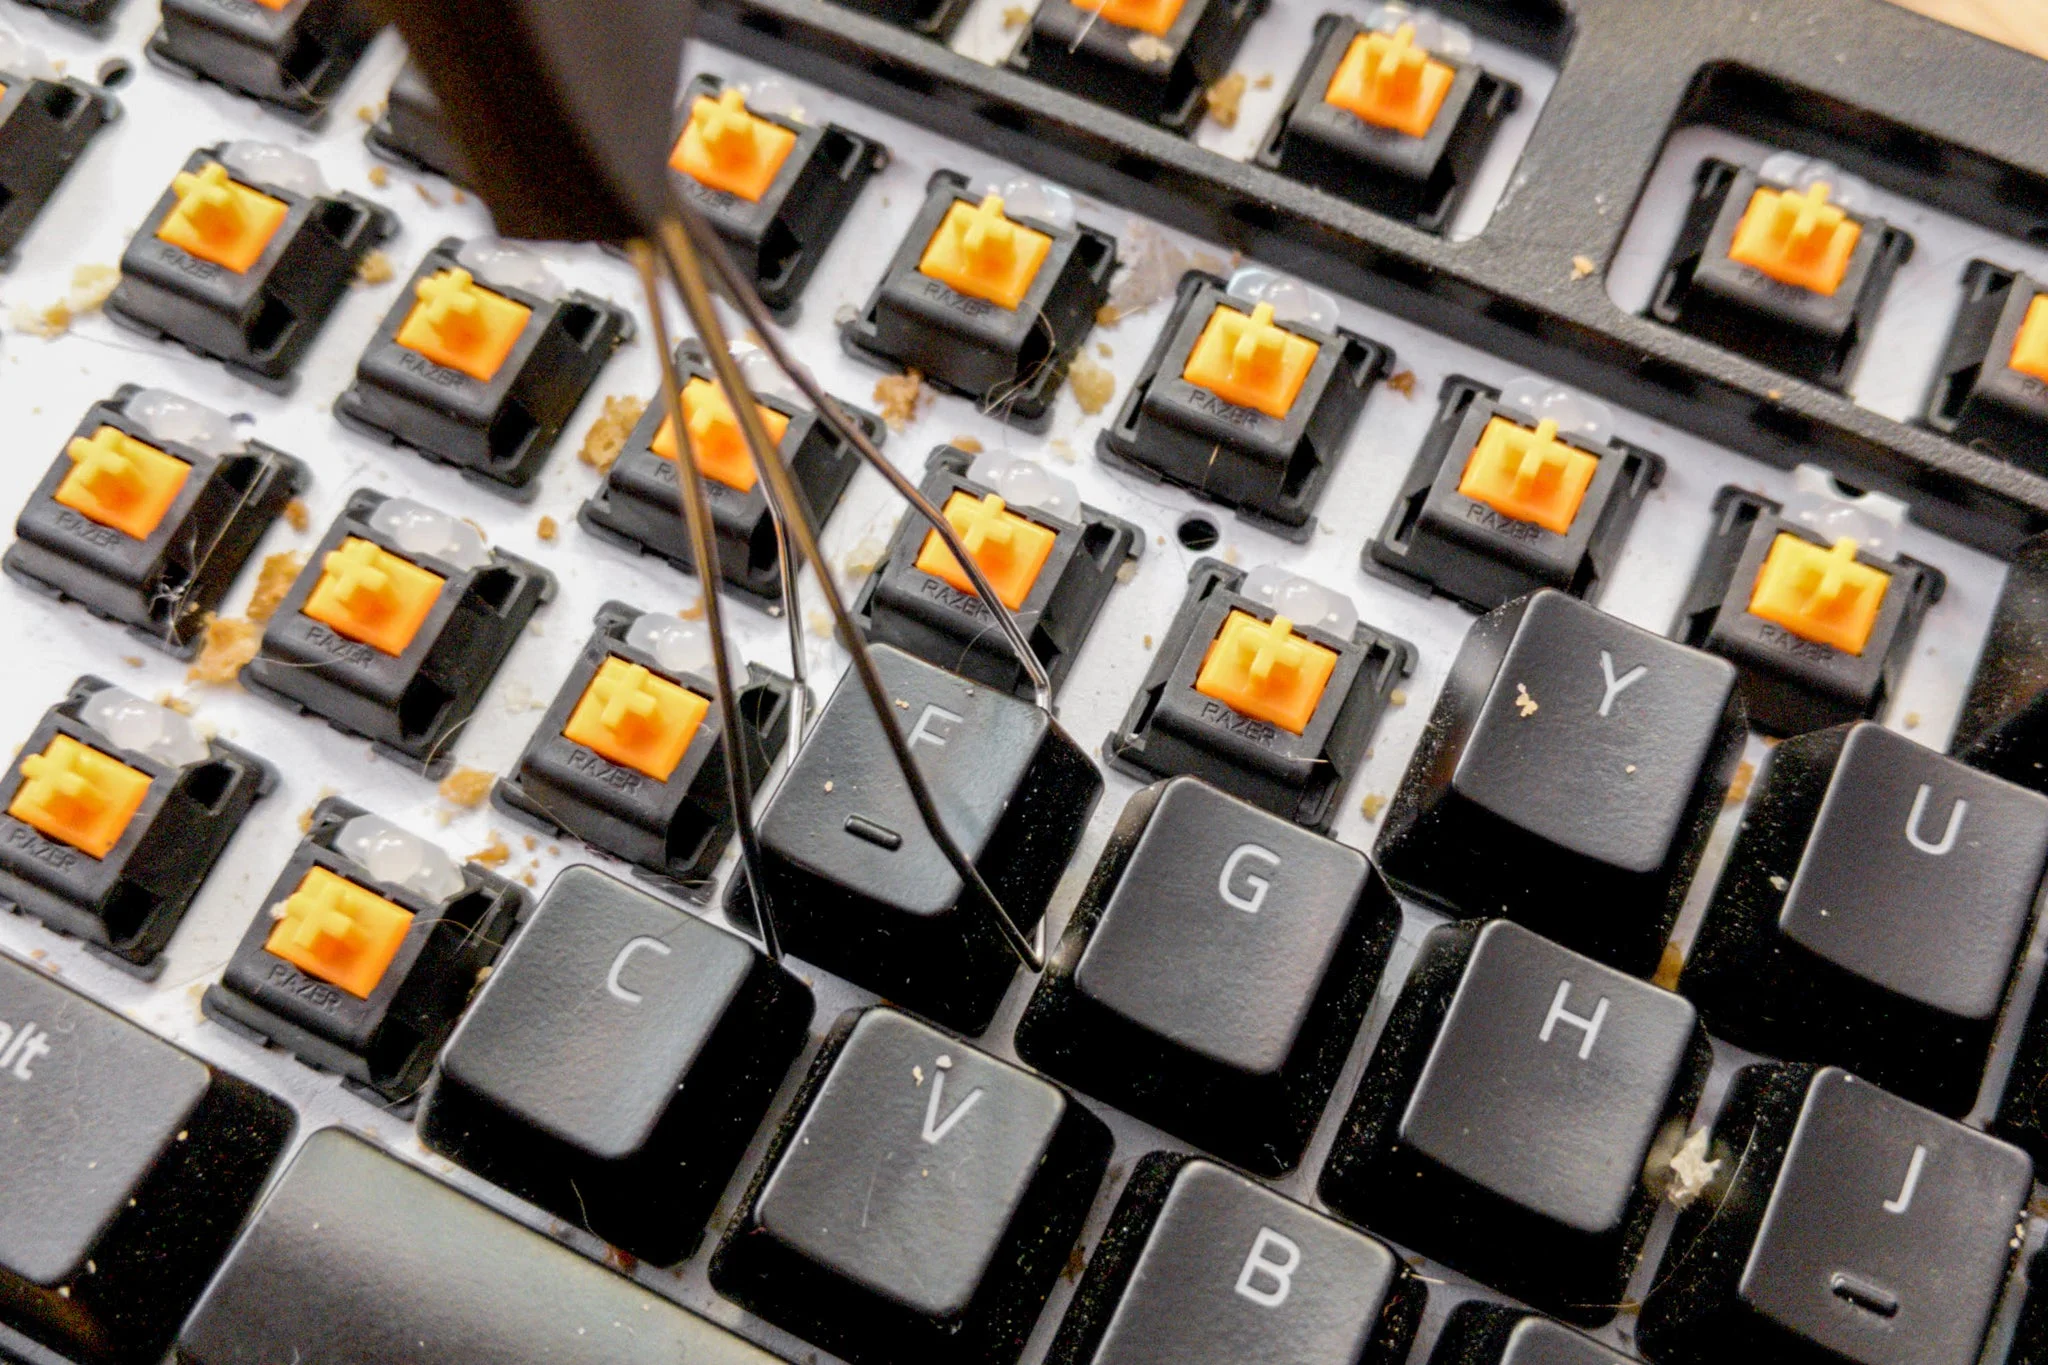
Using a plastic ring keycap puller, gently pry the keycaps off. Avoid twisting or pulling aggressively, as this can damage the switches or the caps. This tool prevents scratches and makes the job more efficient. Be patient with larger keys like the spacebar, which may have additional stabilizers. Removing keycaps exposes the switch housings and keyboard plate, allowing for deeper cleaning beyond the surface.
Cleaning the Keycaps and Keyboard Base
Wash the keycaps in warm soapy water, soaking them for a few hours if heavily soiled. Using an old toothbrush can help dislodge stubborn grime. Make sure to dry them thoroughly—never reassemble damp keycaps, as moisture can cause damage. Meanwhile, use compressed air to blow out dust and debris in the switch housings and plate. A soft brush helps clean tight areas, and lightly dampened microfiber cloths with isopropyl alcohol can wipe the plate clean. For advanced users, applying switch lubricant during reassembly improves smoothness and sound.
Reassembling Your Keyboard
Once all components are completely dry, refer back to your photo and carefully snap the keycaps onto their respective switches. Test each key for proper feel and response. This stage is crucial; forcing caps onto switches or assembling prematurely can cause long-term damage. Proper reassembly ensures your keyboard performs like new and feels satisfying under your fingers.
Preventive Maintenance Tips
Daily Habits to Keep Your Keyboard Pristine
Simple routines can prevent buildup and prolong your keyboard’s life. Avoid eating over the keyboard to minimize crumbs and grease. Keep liquids well away, and if you must have a drink nearby, use a spill-proof container. Regularly dust your keyboard using compressed air or a soft brush to prevent grime from settling deeply. A microfiber cloth can quickly wipe oils and fingerprints at the end of each day, maintaining hygiene and appearance.
Monitoring and Addressing Wear and Tear
Over time, keys may develop chattering or sticky behavior. Early detection allows you to troubleshoot before issues worsen. Checking firmware updates periodically can enhance performance and fix bugs that affect the keyboard’s responsiveness. Many users neglect this step, resulting in avoidable technical issues. Keeping an eye on physical wear also helps identify when deeper cleaning or professional servicing becomes necessary.
Special Considerations for Different Keyboard Types
Mechanical vs. Membrane Keyboard Maintenance
Mechanical keyboards require more intricate cleaning due to their individual switches and keycaps, whereas membrane keyboards have fewer removable parts and can sometimes be cleaned with gentle wiping only. Mechanical users benefit from periodic deep cleanings including keycap removal and switch lubrication. In contrast, membrane keyboards are more vulnerable to moisture intrusion and often best maintained with surface cleaning and careful usage habits.
Water-Resistant and RGB Keyboards
Water-resistant keyboards offer added protection against spills but are not invincible; you should still avoid exposing them to liquids intentionally. RGB keyboards need special attention to avoid damaging LEDs when cleaning. Avoid soaking or harsh chemicals near lighting zones. Using compressed air is typically safer in these cases, and following manufacturer guidelines is crucial to prevent voiding warranties or causing malfunctions.
When to Seek Professional Help
Signs Your Keyboard Needs Expert Attention
If your keyboard continues to malfunction after thorough cleaning or shows physical signs of damage such as corroded circuits or broken switches, it’s time to consult a professional. Persistent unresponsiveness, erratic key behavior, or firmware issues unresolvable by updates signal deeper underlying problems. Professionals can safely disassemble sensitive parts, offer repairs, or advise on replacement if needed.
Conclusion
Summary of Best Practices
Caring for your mechanical keyboard involves consistent, careful maintenance—starting with the right tools, performing regular cleaning, and following preventive habits. Avoid mistakes like neglecting spills, using metal tools, or reassembling damp parts. Keeping your keyboard in optimal condition not only improves your typing experience but safeguards your investment over the long run. Whether you’re a gamer, professional, or hobbyist, a clean keyboard ensures every keystroke feels just right.


